As 2013 winds down I thought I’d share a quick year-end review. This year has truly flown by. I know that’s what everyone says, but it’s true. It was a lovely year for which I am grateful. I was fortunate enough to do a lot of traveling and was able to create some really great memories that I will speak of for years to come.
I am very excited that I was able to start this blog this year too. It’s been a wonderful challenge creating posts and images that go along with it. I wanted to re-post my favorites and well as your favorites from the year. Enjoy.
May you have a safe and Happy New Year from Hannah and Harley.

This was the very first post from Hannah and Harley. There’s always something special about the first of anything.
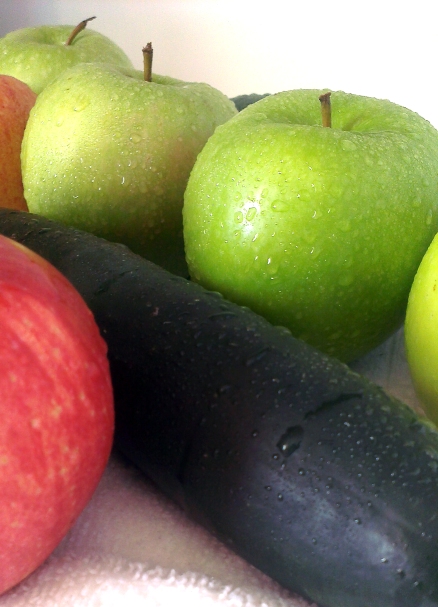
This post is a favorite simply because it started an early interest into researching the benefits of essential oils. An interest that will most likely get a lot more attention in 2014.

This is my favorite image from this summer. From June to mid-July of this year I was in a different city each weekend. It was a great experience, but I looked up and it was almost August. Thank goodness for photography. Without these images I may have forgotten the entire summer.
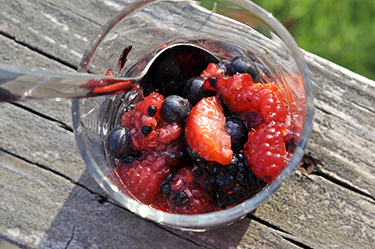
The Berry Salad, a simple mixture of berries, was by far the most successful new recipe I tried this year. I’ve made it countless times since this post. It’s delicious and healthy!

The marquee says it all. This was actually a contest. Who ever submitted the winning marquee suggestion won a free combo. This is one of many photos I took over the weekend Arkansas State University played Auburn. An experience more appreciated now because in less than two weeks, Auburn will be playing Florida State in the national championship. Very cool.

Believe it or not this post about baked carrots is the most popular post from this year. It’s the most shared pin from Hannah and Harley on Pinterest. It just keeps popping up randomly. Its success is most likely due to its simplicity.

This is my personal favorite post from 2013. I don’t think I’ve had so much fun writing something since college. I had forgotten what it was like to write for fun. Hopefully I will get a few chances to write for fun.

This was the most shared post on Facebook. For clarity, this post was about my mom so I’m pretty sure the Facebook shares were from folks that knew my mom.


